Hey there! If you’re into tech, love doing things yourself, and want to keep your online life private and secure, I’ve got something cool for you. Let’s get you set up with Bitwarden, the Password Manager that’s easy to use and super secure. Ready? Let’s go!
Why Choose Bitwarden?
Bitwarden is the key to stress-free password management. It’s user-friendly, open-source, and ready to scale from personal use to enterprise security with ease. Choose it for a simpler, safer online life.
Prerequisites
- A VPS running Ubuntu
- Root access to the VPS.
- Basic knowledge of the Linux command line.
Update Your Server
Enter the following command to update your server’s package list and your system’s packages to their latest versions.
sudo apt update && sudo apt upgrade -yNext, install a few prerequisite packages which let apt use packages over HTTPS:
sudo apt install gnupg curl apt-transport-https ca-certificates software-properties-commonInstall Nginx
Once the update and upgrade are complete, proceed to install Nginx with:
sudo apt install nginx -y
Once installed, start Nginx and enable it to run on boot:
sudo systemctl start nginx
sudo systemctl enable nginx
Add Docker CE Repository
First, add Docker’s official GPG key:
sudo install -m 0755 -d /etc/apt/keyrings
curl -fsSL https://download.docker.com/linux/ubuntu/gpg | sudo gpg --dearmor -o /etc/apt/keyrings/docker.gpg
sudo chmod a+r /etc/apt/keyrings/docker.gpg
Then, add the repository to Apt sources:
echo \
  "deb [arch="$(dpkg --print-architecture)" signed-by=/etc/apt/keyrings/docker.gpg] https://download.docker.com/linux/ubuntu \
  "$(. /etc/os-release && echo "$VERSION_CODENAME")" stable" | \
  sudo tee /etc/apt/sources.list.d/docker.list > /dev/null
sudo apt-get update
Install Docker CE
Install Docker CE:
apt install docker-ce docker-compose-plugin -y
Check Docker is running:
systemctl status docker
Set Up Bitwarden User
Create a new user:
useradd -G docker,sudo -s /bin/bash -m -d /opt/bitwarden bitwarden
Set a password:
passwd bitwarden
Give ownership of the directory:
chown -R bitwarden: /opt/bitwarden
These steps will set up Docker and Docker Compose on your server and prepare a user for running Bitwarden.
Install Bitwarden
To install Bitwarden easily, use the provided shell script for Linux by following these steps:
su - bitwarden
curl -Lso bitwarden.sh "https://func.bitwarden.com/api/dl/?app=self-host&platform=linux" && chmod 700 bitwarden.sh
Execute the installation script. This will create a ./bwdata folder where the bitwarden.sh file is located.
./bitwarden.sh installBegin using Bitwarden by starting the instance with the following command:
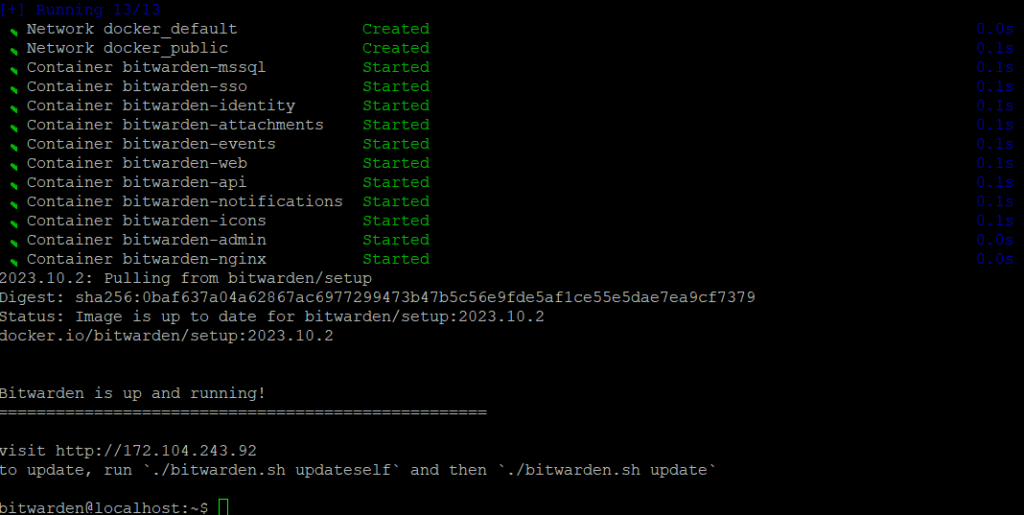
./bitwarden.sh start
Well done! Bitwarden is now active and can be accessed at https://your.domain.com. Open your web browser and go to the web vault to make sure everything is functioning correctly.
For additional information and further guidance, please refer to the official Bitwarden documentation at https://bitwarden.com/help/install-on-premise-linux/.


