
Firefly III is a self-hosted financial manager that helps you keep track of your expenses. This guide will walk you through setting it up on an Ubuntu 22.04 LTS server.
Prerequisites
- A VPS running Ubuntu 22.04 LTS.
- Root access to the VPS.
- Basic knowledge of the Linux command line.
Step 1: Update Your Server
Before installing any package, it’s always a good idea to update the package list and upgrade all your system software to the latest version. You can do this with the following commands:
sudo apt update && sudo apt upgrade -yStep 2: Install Nginx
Nginx is a high-performance web server. Install it using apt:
sudo apt install nginx -yOnce installed, start Nginx and enable it to run on boot:
sudo systemctl start nginx
sudo systemctl enable nginx
Step 3: Install MariaDB
MariaDB is a fork of MySQL and is used by Firefly III to store data. Install it with:
sudo apt install mariadb-server -ySecure your MariaDB server by running the provided security script:
sudo mysql_secure_installation
Upon executing this command, you’ll encounter a series of prompts on the server. Make sure to follow the subsequent steps carefully to ensure the setup is configured properly.
- Enter current password for root: (Enter your SSH root user password)
- Switch to unix_socket authentication [Y/n]: Y
- Change the root password? [Y/n]: Y
It will ask you to set new MySQL root password at this step. This can be different from the SSH root user password. - Remove anonymous users? [Y/n] Y
- Disallow root login remotely? [Y/n] Y
- Remove test database and access to it? [Y/n] Y
- Reload privilege tables now? [Y/n] Y
Then log in to MariaDB to create a database and user for Firefly III:
sudo mysql -u root -p
CREATE DATABASE firefly;
GRANT ALL ON firefly.* TO 'firefly_user'@'localhost' IDENTIFIED BY 'strong_password';
FLUSH PRIVILEGES;
EXIT;
Step 4: Install PHP
Firefly III requires a recent version of PHP. Since PHP 8.2 is not available in the default Ubuntu repository, you will need to add a PPA maintained by Ondřej Surý, a reputable PHP maintainer.
Add the PPA to your system with the following command:
sudo add-apt-repository ppa:ondrej/php -y
sudo apt update
Once the PPA is added and your package list is updated, install PHP 8.2 and the necessary extensions:
sudo apt install php8.2 php8.2-fpm php8.2-xml php8.2-mysql php8.2-bcmath php8.2-gd php8.2-mbstring php8.2-curl php8.2-zip php8.2-ldap php8.2-intl php8.2-gmp -y
Step 5: Configure PHP for Nginx
After the installation of PHP 8.2, it’s important to configure the php.ini file to ensure optimal performance and functionality for Firefly III.
Edit the PHP configuration file for the FPM service:
- short_open_tag: Enable PHP short tags for compatibility with any legacy code in scripts.
- cgi.fix_pathinfo: Set this to 0 for security reasons, as it prevents the server from mistakingly executing the wrong script.
- memory_limit: Allocate enough memory for scripts to run efficiently, important for processing data.
- upload_max_filesize: Increase the file size limit for uploads, useful for importing large transaction files.
- max_execution_time: Set a longer execution time for scripts, which can be necessary for importing data or running large reports.
- max_input_vars: Increase the maximum input variables to support complex forms and data structures.
- date.timezone: Set the correct timezone for your server to ensure time functions work properly.
Now, let’s edit the PHP configuration:
sudo nano /etc/php/8.2/fpm/php.ini
In the file, find and update the following lines with the values provided:
short_open_tag = On
cgi.fix_pathinfo = 0
memory_limit = 256M
upload_max_filesize = 100M
max_execution_time = 360
max_input_vars = 1500
date.timezone = America/Chicago
After making these changes, save the file and exit the editor. Then, apply the new settings by restarting the PHP 8.2-FPM service:
sudo systemctl restart php8.2-fpmStep 6: Install Composer
Composer is a dependency manager for PHP that will allow you to install Firefly III. To install Composer globally, use the following command:
curl -sS https://getcomposer.org/installer | sudo php -- --install-dir=/usr/local/bin --filename=composer
After the installation, verify that Composer was installed correctly:
composer -v
This command should display the version of Composer that was installed, along with some other details.
Note: If you do not have sudo rights, you can download Composer locally in your project directory. Follow the “manual download” instructions from the Composer website. Remember to use php composer.phar for the commands that follow instead of composer.
Step 7: Download and Install Firefly III
Now that Composer is installed, you can proceed with setting up Firefly III.
Navigate to the web server’s root directory:
cd /var/www
Use Composer to create a new Firefly III project:
composer create-project grumpydictator/firefly-iii --no-dev --prefer-dist firefly-iii 6.0.30
If you encounter permission errors, use sudo for the creation command and then adjust the permissions:
sudo chown -R www-data:www-data /var/www/firefly-iii/
sudo chmod -R 755 /var/www/firefly-iii/
Configuration
Within the firefly-iii directory, you’ll find a .env file. This file contains the environment-specific settings for your Firefly III installation.
Open the .env file with a text editor and follow the instructions within to configure your application:
nano firefly-iii/.envFind the database settings within this file and update them with the database, username, and password you created earlier:
DB_CONNECTION=mysql
DB_HOST=127.0.0.1
DB_PORT=3306
DB_DATABASE=firefly
DB_USERNAME=firefly_user
DB_PASSWORD=strong_password_here
Replace firefly_user and strong_password_here with your actual database username and password. After you’ve made these changes, save and exit the editor.
Step 8: Initialize the Database
With the .env file configured, proceed with preparing the database for Firefly III by running the following commands in the firefly-iii directory:
php artisan firefly-iii:upgrade-database
php artisan firefly-iii:correct-database
php artisan firefly-iii:report-integrity
php artisan passport:install
These commands will set up the database tables, correct any inconsistencies, perform integrity checks, and create OAuth keys for API access.
Step 9: Configure Nginx for Firefly III
Create a new virtual host file for Firefly III:
sudo nano /etc/nginx/sites-available/firefly.conf
Paste the following configuration, replacing your_domain.com with your actual domain:
server {
    listen 80;
    listen [::]:80;

    server_name  your_domain.com;
    root   /var/www/firefly-iii/public;
    index  index.php;

    access_log /var/log/nginx/your_domain.com.access.log;
    error_log /var/log/nginx/your_domain.com.error.log;

    client_max_body_size 100M;

    autoindex off;

    location / {
    try_files $uri $uri/ /index.php$is_args$args;
      }

    location ~ \.php$ {
         include snippets/fastcgi-php.conf;
         fastcgi_pass unix:/var/run/php/php8.2-fpm.sock;
         include fastcgi_params;
         fastcgi_intercept_errors on;
    }
}
Enable this site by linking the file to the sites-enabled directory:
sudo ln -s /etc/nginx/sites-available/firefly.conf /etc/nginx/sites-enabled/
Test the Nginx configuration and reload if everything is correct:
sudo nginx -t
sudo systemctl reload nginx
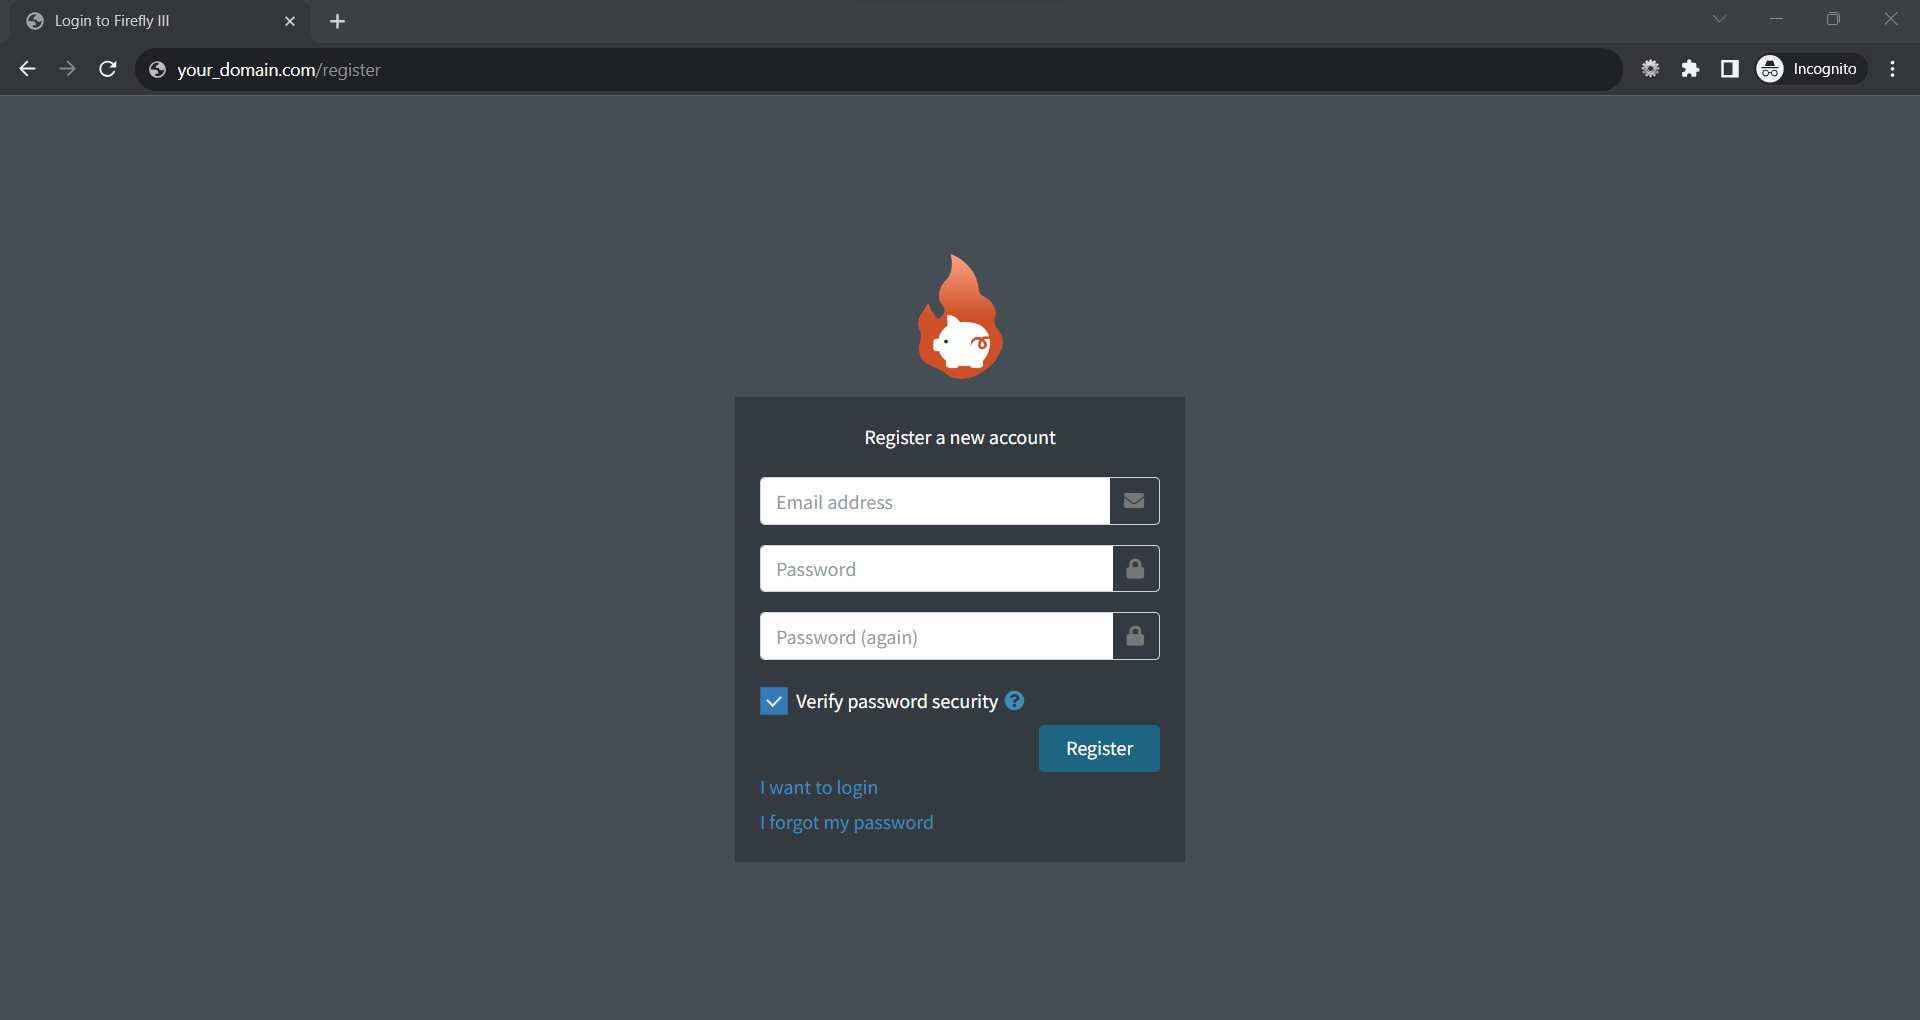
Step 10: Finalize Firefly III Setup
Navigate to your domain in your web browser and follow the on-screen instructions to complete the Firefly III installation.
http://your_domain.com
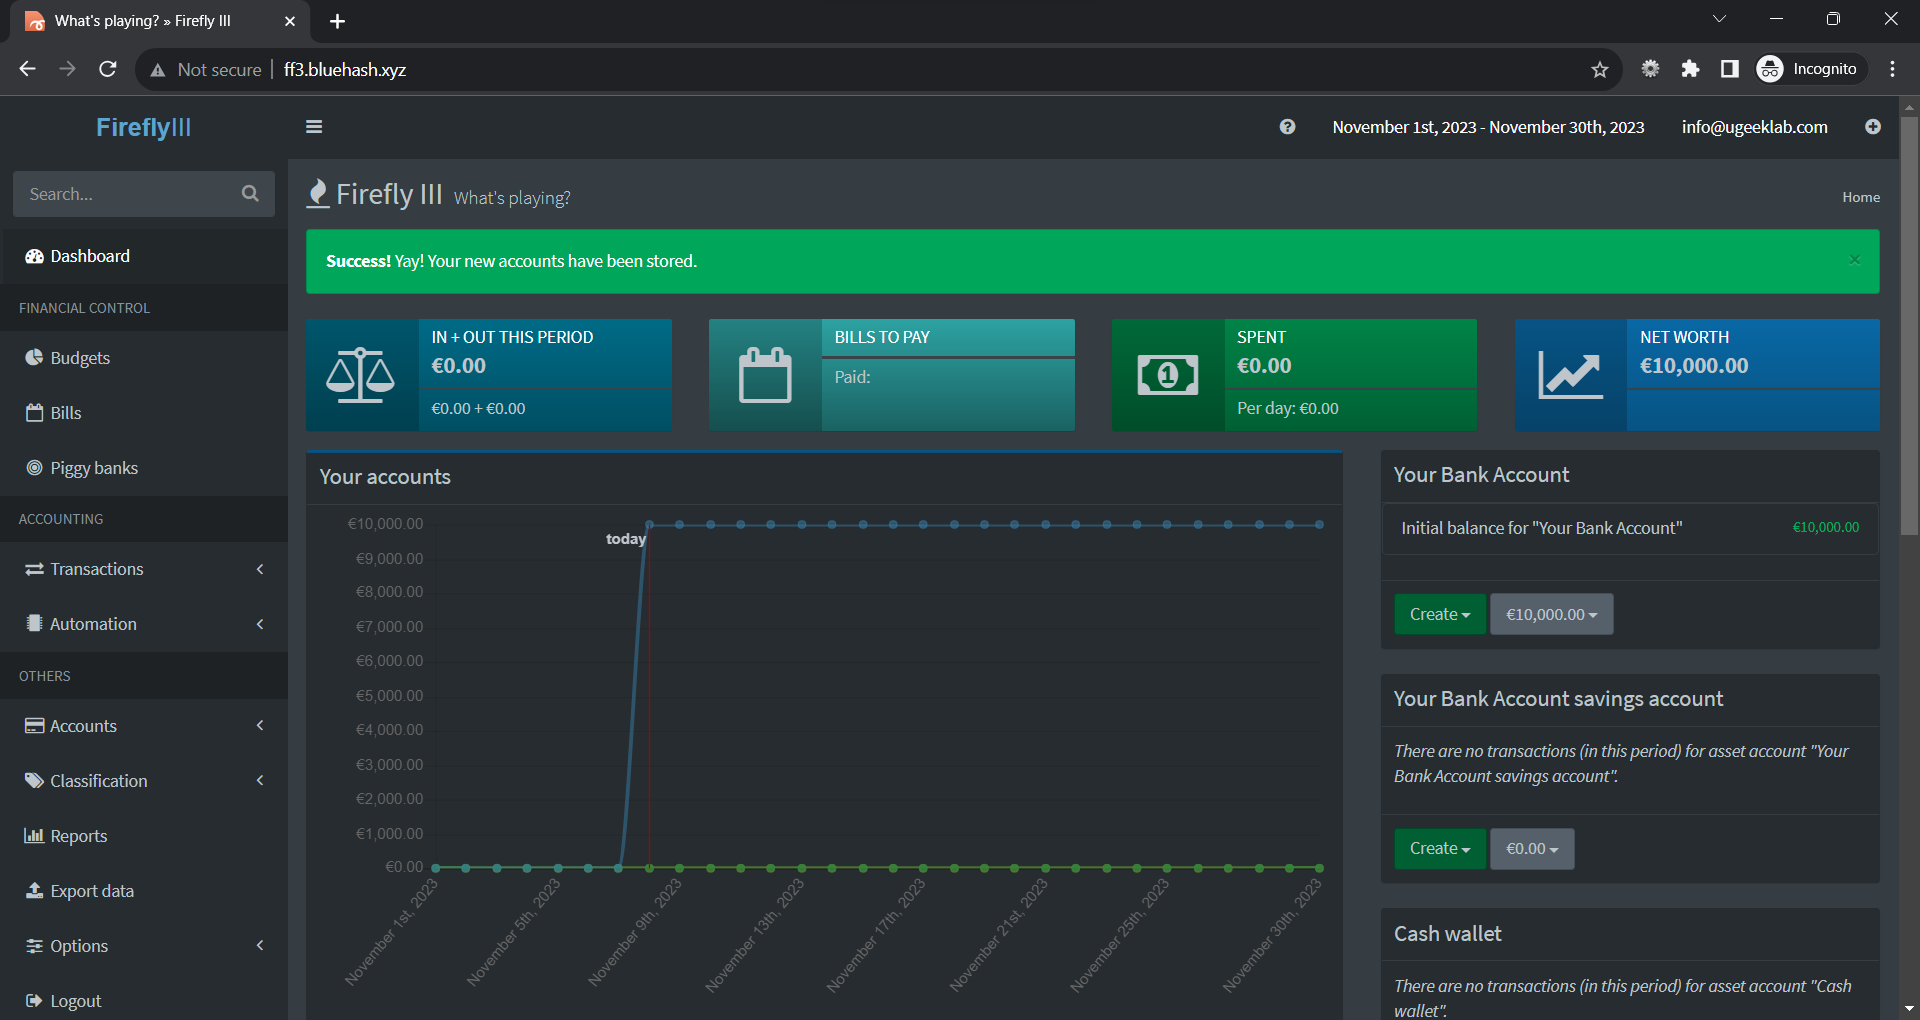
Conclusion
You’ve installed Firefly III on your Ubuntu server! Remember to regularly back up your Firefly III database and files. For further customization and troubleshooting, refer to the official Firefly III documentation.
VPS Management Service Available
Need assistance with your VPS setup? Our expertise is at your service! We offer comprehensive VPS management starting at just $10. Save time and ensure your server is in professional hands. Contact us today for a tailored service package that best suits your needs!


